Create a New Project
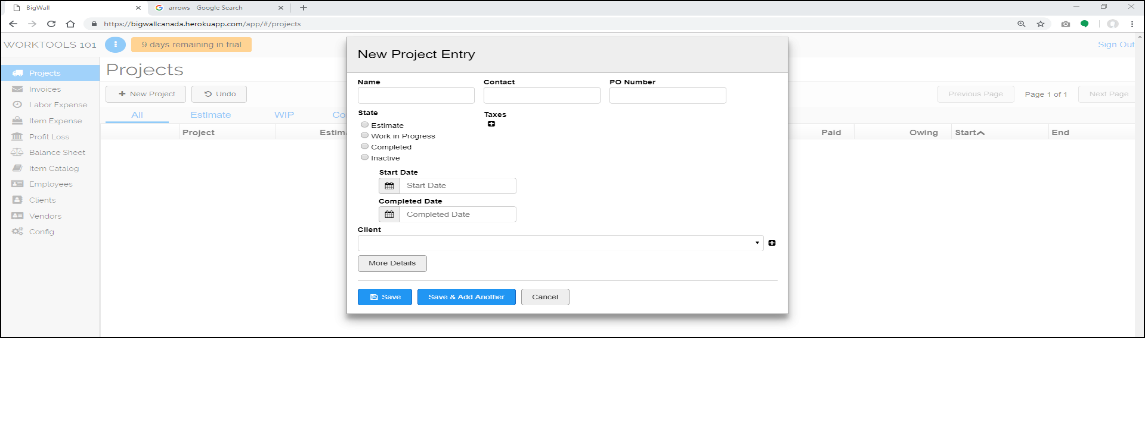
1. Click on the “Projects” tab from the Main Menu pane to the left of the screen, then select “New Project”.

The New Project Entry window will appear.

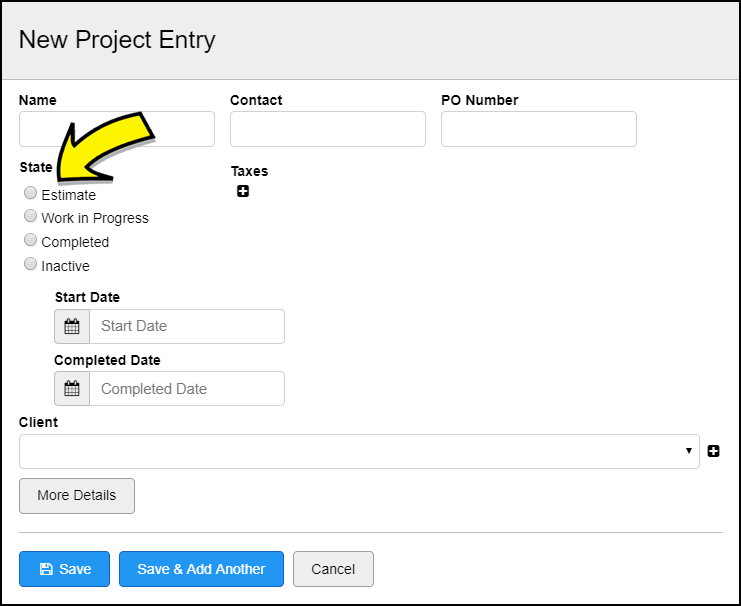
2. Enter a Project Name (required). Appears on your estimate and invoices.
3. Add a Contact (optional). The Contact name will appear on the Estimate only.
4. Add a PO Number (optional). The PO number will appear on the estimate and invoices.
5. Select the State you would like your project to begin in. Projects can begin in one of two states; Estimate or Work-in-Progress (WIP). If you need to provide an estimate prior to beginning the work, choose Estimate. If no estimate is required, for example you are billing for expenses as you go, select the Work in Progress state. Selecting the WIP state will prompt you to assign a Start Date to the project. This date is important because it tells Worktools 101 when to begin recognizing the costs and billings of the project.


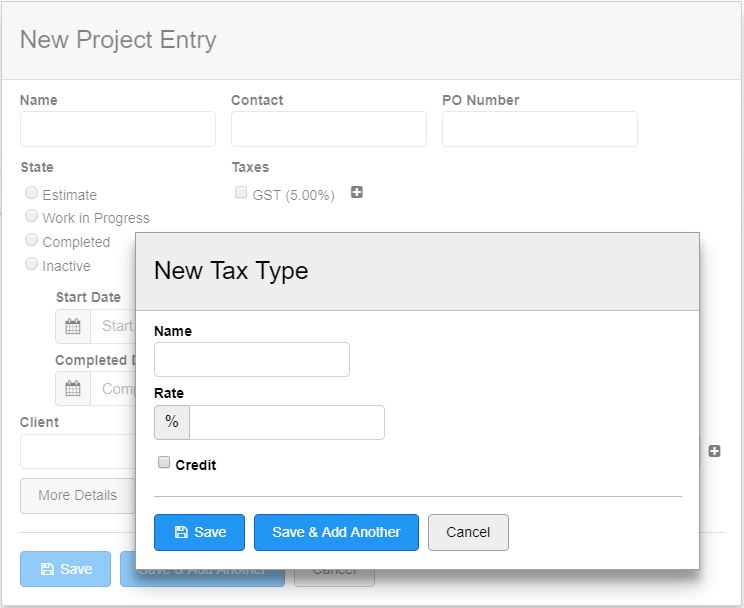
6. Assign applicable tax. Assign the tax that applies to you state or province. If you haven’t set up your taxes yet you can do so here by clicking on the + symbol to the right of “taxes”. This opens the New Tax Type dialog window. Give the tax a name, percentage, choose whether or not it is a credit tax, and click the “Charge markup on taxes” if you want to extend your markup on direct costs that include tax. Click “Save” to add your new tax to the list of taxes. You may now select the tax to apply to the project.
Selected tax will be added to estimate and invoice amounts. Tax collected appears on the balance sheet as a liability under Taxes Payable.
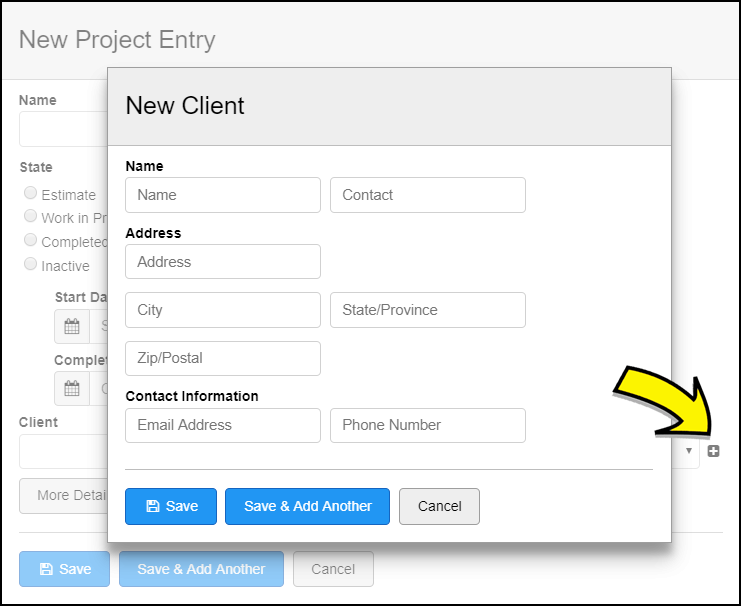
7. Add a Lead or Client. Select from the dropdown list or create a new lead/client using the + symbol to open the New Client/Lead dialog window. Enter the details and click Save to close the dialog box. Click the Lead/Client dropdown box once again to make your selection.

8. Click on More Details to add a job site location or any details about the project.
9. Click Save to add your new project to the Projects window.
Updating the project details
Open the Update Project window to edit details or change the state of any project from:
- from the Projects Summary window by clicking on the “pencil” symbol located to the far left of the project name.
- from the Project Layout window by selecting the Edit Project tab at the top of the page.
